Welcome to the first of many posts detailing all you need to know to start and continuously use Substack to your advantage. But before we get into it, who is this series for?
If you are a writer of fiction in any format, this series is for you. It’s for the writer who is looking for a platform that can both showcase their work and share it with the present and future fans in the smoothest and simplest of ways. If you’ve never heard of Substack or even if you have and you’re currently using it, stick around, cause this series might have something new for you to learn.
Note: I am new to Substack as well and the longer I use the platform the more I will refine this series, add to it, and expand upon what they each have to offer.
And now, let’s get into this first in the series and create our very first Substack from scratch.
STEP ONE
Create a Substack account here: https://substack.com
You’ll go through a series of windows and options to choose from:
WINDOW ONE | Get started
Use Twitter to Sign-up (if you have a twitter account). Click SKIP (preferred).
SUGGESTION | Don’t sign-up using your Twitter. Instead, if you have a URL like “yournamehere.com” then set-up a free email using your URL and have that be the email you use to sign up. For example: firstname@yournamehere.com The reason you’ll want to go this route instead is because the emails you send are less likely to hit someone’s spam folder. Of course, not everyone has this capability. And that’s fine. By all means use whatever your email address happens to be in that case.
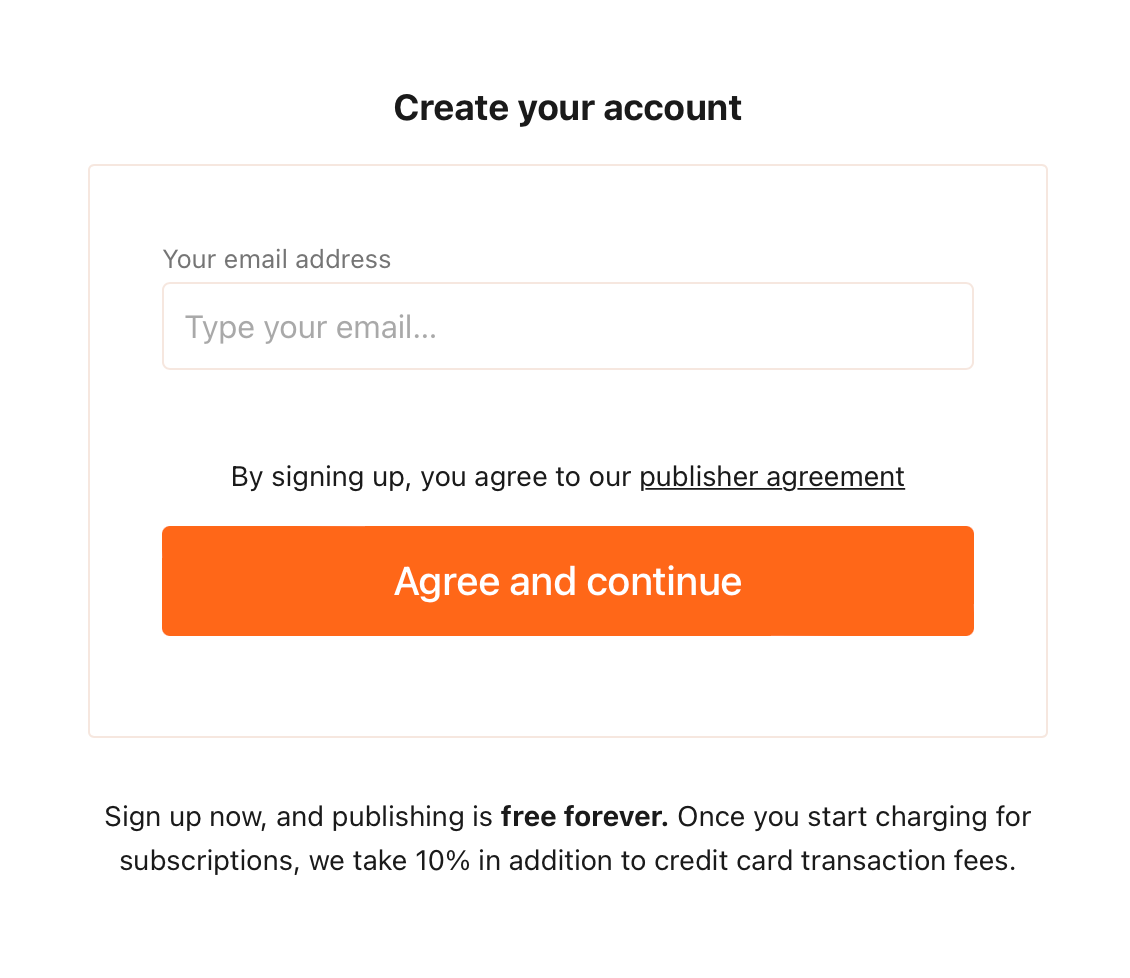
WINDOW TWO | Create your account
Type your email address and click the orange Agree and continue button. Make a note of the terms for payouts should you decide to activate that service. Paid subscriptions will be gone over in depth during the 301 Free vs Paid Subscriptions post on September 8th. But for now, you’ll see the take for Substack is 10% + any credit card transaction fees. This is a competitive price and not that far off from what any other service you may choose will take.
WINDOW THREE | Set up your profile
Add a picture, your author name, and a brief bio about yourself. If you are setting up an account for a brand or company that has a different name than yours, the following window will be where you can distinguish that.
WINDOW FOUR | Create your publication
What is your publication name? If it’s different from your own. For instance, my writer's name is E.L. Drayton but I’m calling my publication The Storyteller. You might want to do something similar. This is also where you can give a little snippet on what your newsletter is about, but you can leave it blank and fill it in later. What you’ll want to make sure you snatch up right away is the URL. Put either your name or the name of your publication that will go just before the “substack.com” part of your brand new URL. I went with my full first and last name as I knew going in that I would have multiple newsletters under my name. Yes, this is possible and I’ll go more in-depth on just how to have multiple newsletters as well as manage them in the 201 Multiple Newsletters post on August 23rd.
WINDOW FIVE | Import your mailing list
If you have a Patreon, Mailchimp, or some other service that is holding an email list you already have, here is where you can import that list even before you get started. But don’t worry, you can SKIP this and go back to it later or as often as you need to in the Settings area.
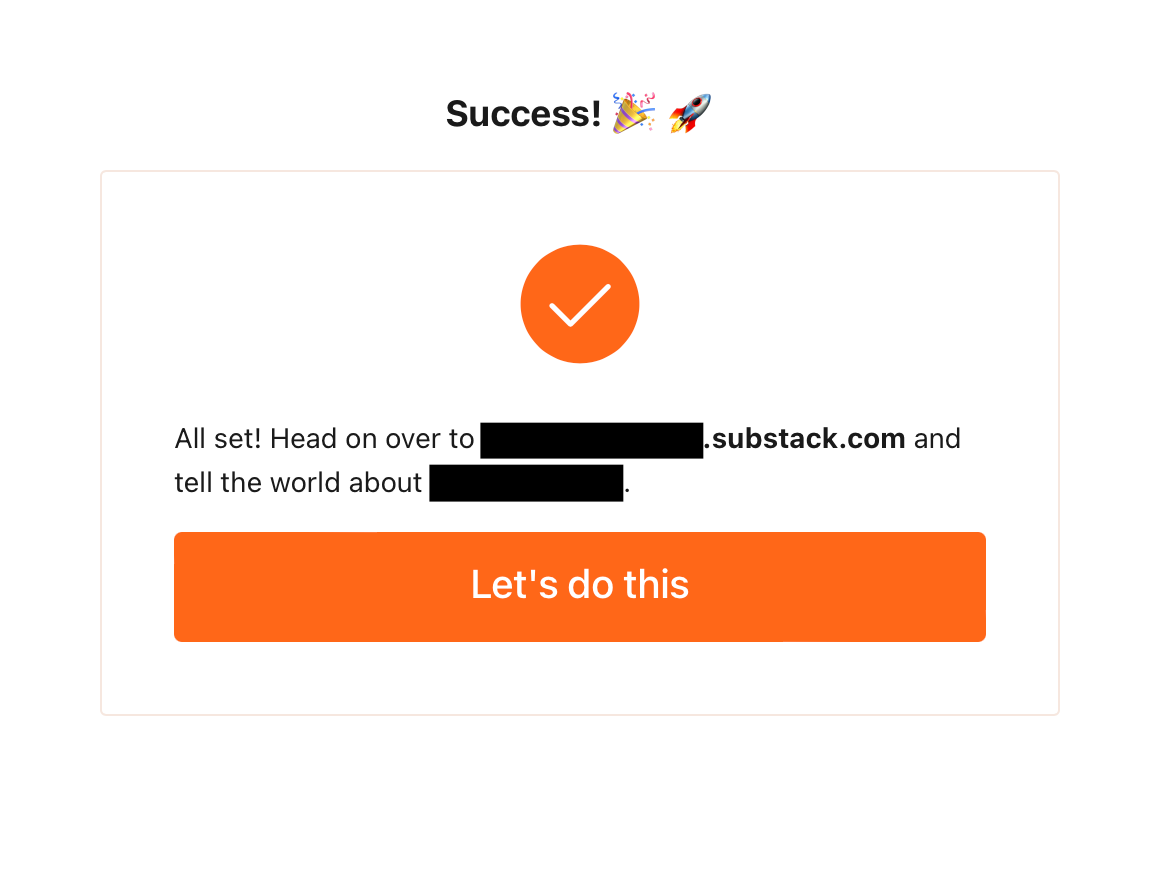
WINDOW SIX | Success!
Once you’re done you’ll see a success window with your newly created Substack URL. I suggest taking that and putting it everywhere and anywhere you are. If you have Linktree (which I recommend having and using so you have less to update in your life) then start there and work your way through the other usual suspects where you might have to do a manual change (especially if you don’t have Linktree or something equivalent to it): Twitter, Instagram, Facebook, website, and anywhere else.
STEP TWO
Now that you officially have an account you’ll be met with your first “post” sort of like on WordPress where you’ll have the Hello World post as your first. You can just delete that and to show you how to let’s take a look at this page and all the elements:
STEP THREE
Click on the Dashboard button on the top right and let’s take a look at this page. It will be where you’ll likely spend the most time, next to when you're actually crafting posts. So it’s important that you at least know your way around.
STEP FOUR
Let’s go over some key things in the SETTINGS area of Substack. Now, there is a lot to unpack in the settings. For the purpose of this post to just get you started and posting, I’m only going to go into the main areas you’ll want to set up. Of course, I recommend reading carefully each section found here. But fear not, by the time all of this series is complete we will have gone in-depth on everything in settings.
In this section, you’ll want to set up THREE things: Tags, About Page, and Welcome Email.
For these three you’re on your own. But sit down for a while and think about what three words describe your newsletter? A specific genre is always a good place to start. And as for your About Page and Welcome Email, it’s always a good idea to start writing those in a separate word processing app so you can make edits and changes. Then copy/paste it into the window as needed. If you have cute images or something you can add, that’s always helpful, I find.
Further down you’ll find some other things you’ll want to update for your newsletter so you’ll be ready to go. It’s image time! Get that logo and cover photo-ready.
One last thing on here before we exit the Settings area: Twitter account. If you have one, add it. The most useful part about adding your Twitter account is if anyone should share your post (including you) on Twitter, it will mention you in the tweet. This way you’ll know, can retweet, and thank them personally.
You can also do some THEME changes if you like with fonts and colors. The options are minimal which I like, but you might want to head over there if you have a specific color scheme you’d like to incorporate.
One more thing, just below THEME is where you’ll find the place to import a list again. Should you decide you’ll need to do that later on.
There are so many other things past this that we’ll get into later. This post is getting really long already and you haven’t even posted anything yet!
In our next guide, 102, we’ll discuss publishing your first post, planning future posts, and if you really need to go all-in on fiction or non-fiction.
If you found any of this useful and know of anyone who wants to grow an email list, start a blog post, and potentially make money writing along the way? Consider sharing. Consider subscribing. And most of all consider liking and commenting below! I’d love to hear from you.
READ 102 | Publish Your First Post


